The Arduino is small, low cost, embedded micro-controller running a 'C' like language. It is fairly early days at present but this page describes my experiment is developing a robotics system based on it.
I am also aware that others have travelled this road before. I hope to make two contribution:
Splitting intelligence between the robot mounted Arduino and, a more capable, host PC;
Following 'open source' participles by providing as much doc/source as possible via this we page.
The Arduino has a relatively small memory capacity, relatively limited processing capacity and very little user IO (beyond a serial line). The aim is thus to use it for minimal hardware control, e.g 'read this sensor', 'set this motor to this speed', 'emergency stop' etc. A more capable master computer communicates with the Arduino and carries out high level decision making and interfacing with the user. The overall architecture is something like this:
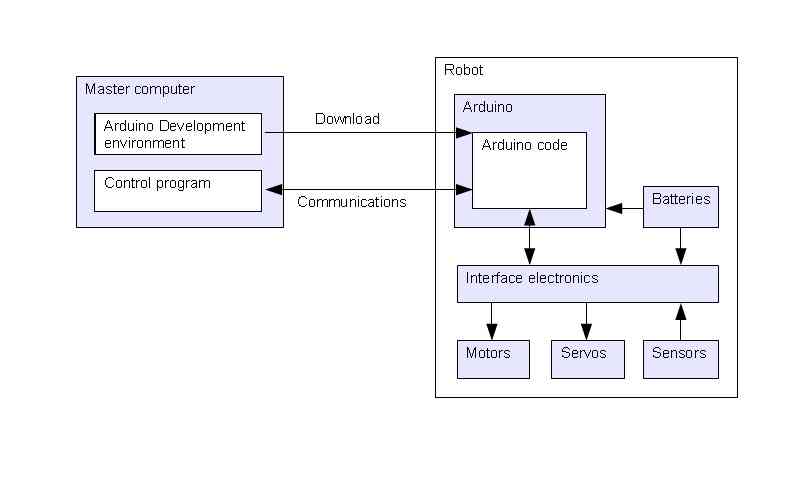
The components are described below.
Control program - This is where the higher level logic and user interface reside. This needs to support a good user interface. Currently it is written in Java under the Eclipse development environment.
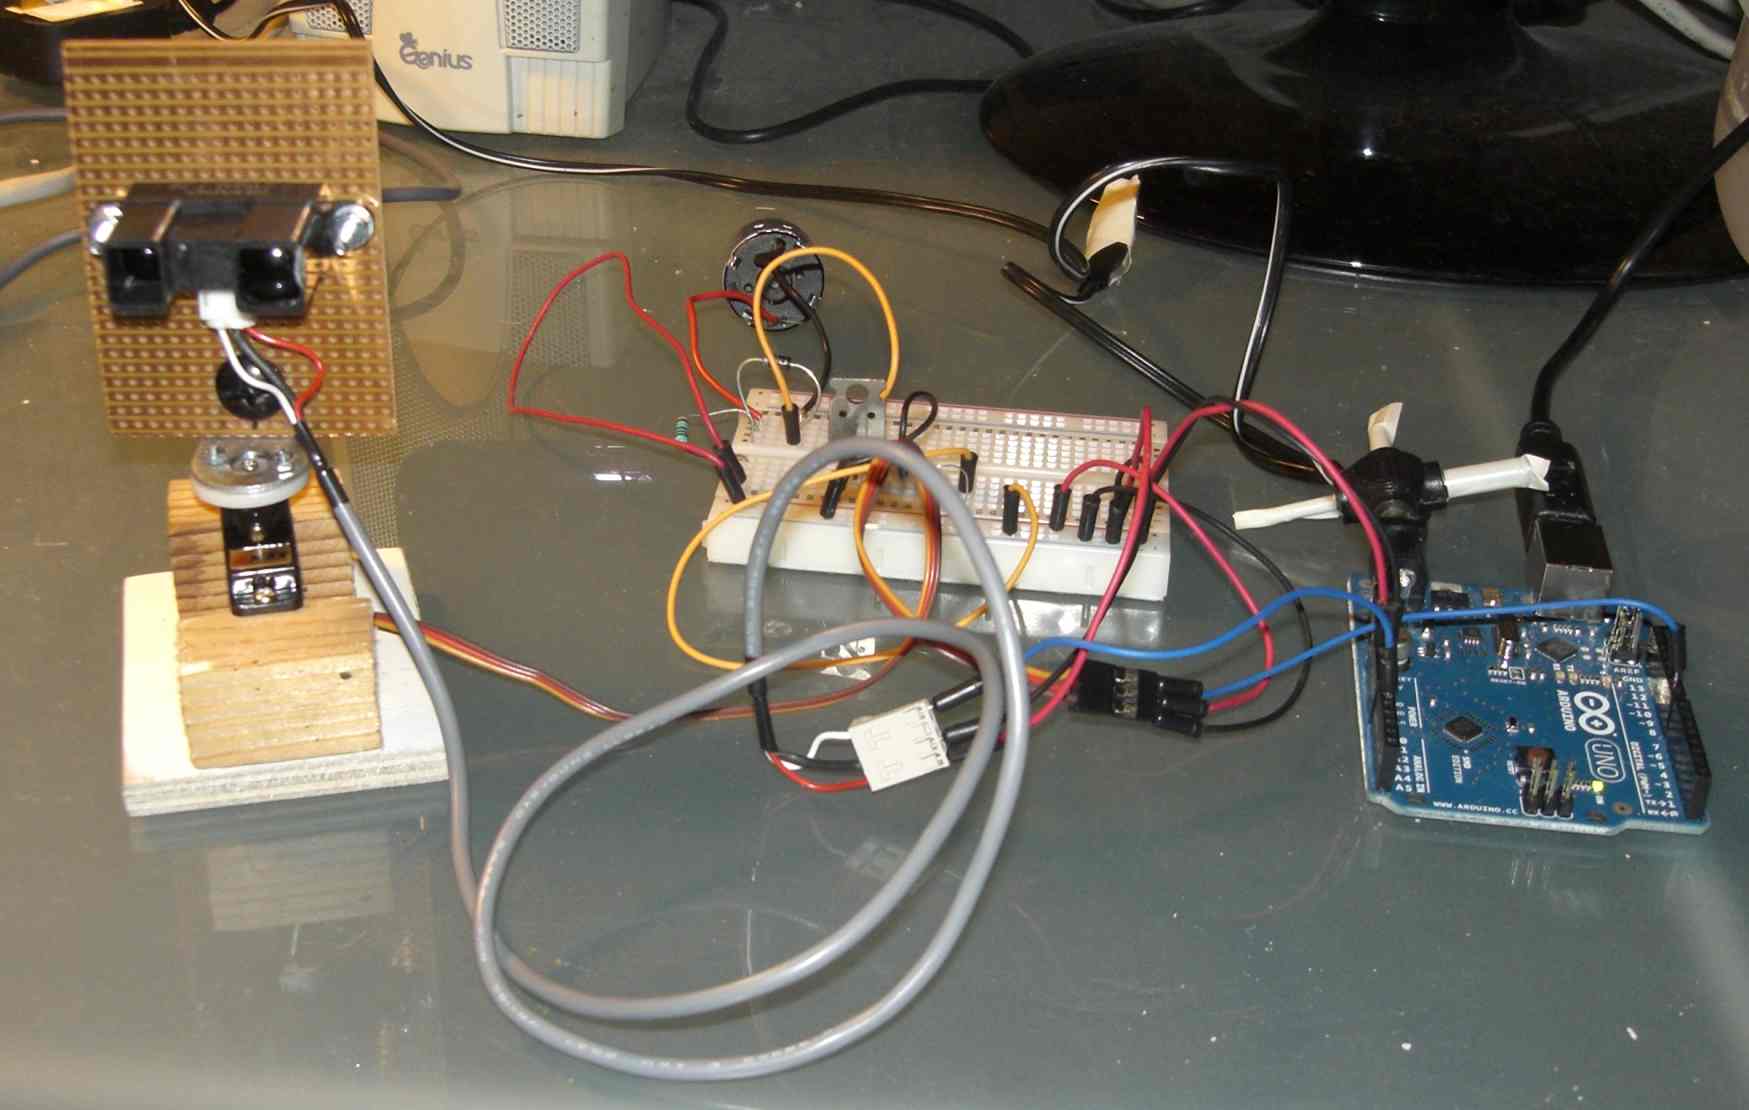
Communications – This is a in house protocol used to communicate between the master computer and the Arduino. It is text based and carried over the Arduinos serial port. This means that it can be tested using a standard terminal emulator on the master computer. Currently this is carried over the same USB cable as the 'download'. If the robot ever becomes mobile this will be replaced by a serial channel over Xbee/ZigBee wireless units.
Download - This is the Arduino firmware download. via it's boot loader to on board flash memory This will only be done infrequently so will be via the standard USB cable.
Master computer - This runs the development environment for the Arduino firmware and the 'control program'. It can be any desktop/laptop supporting a serial port. Currently a Windows desktop is being used. It is envisaged that, for portability, this will eventually be replaced by a Linux laptop.
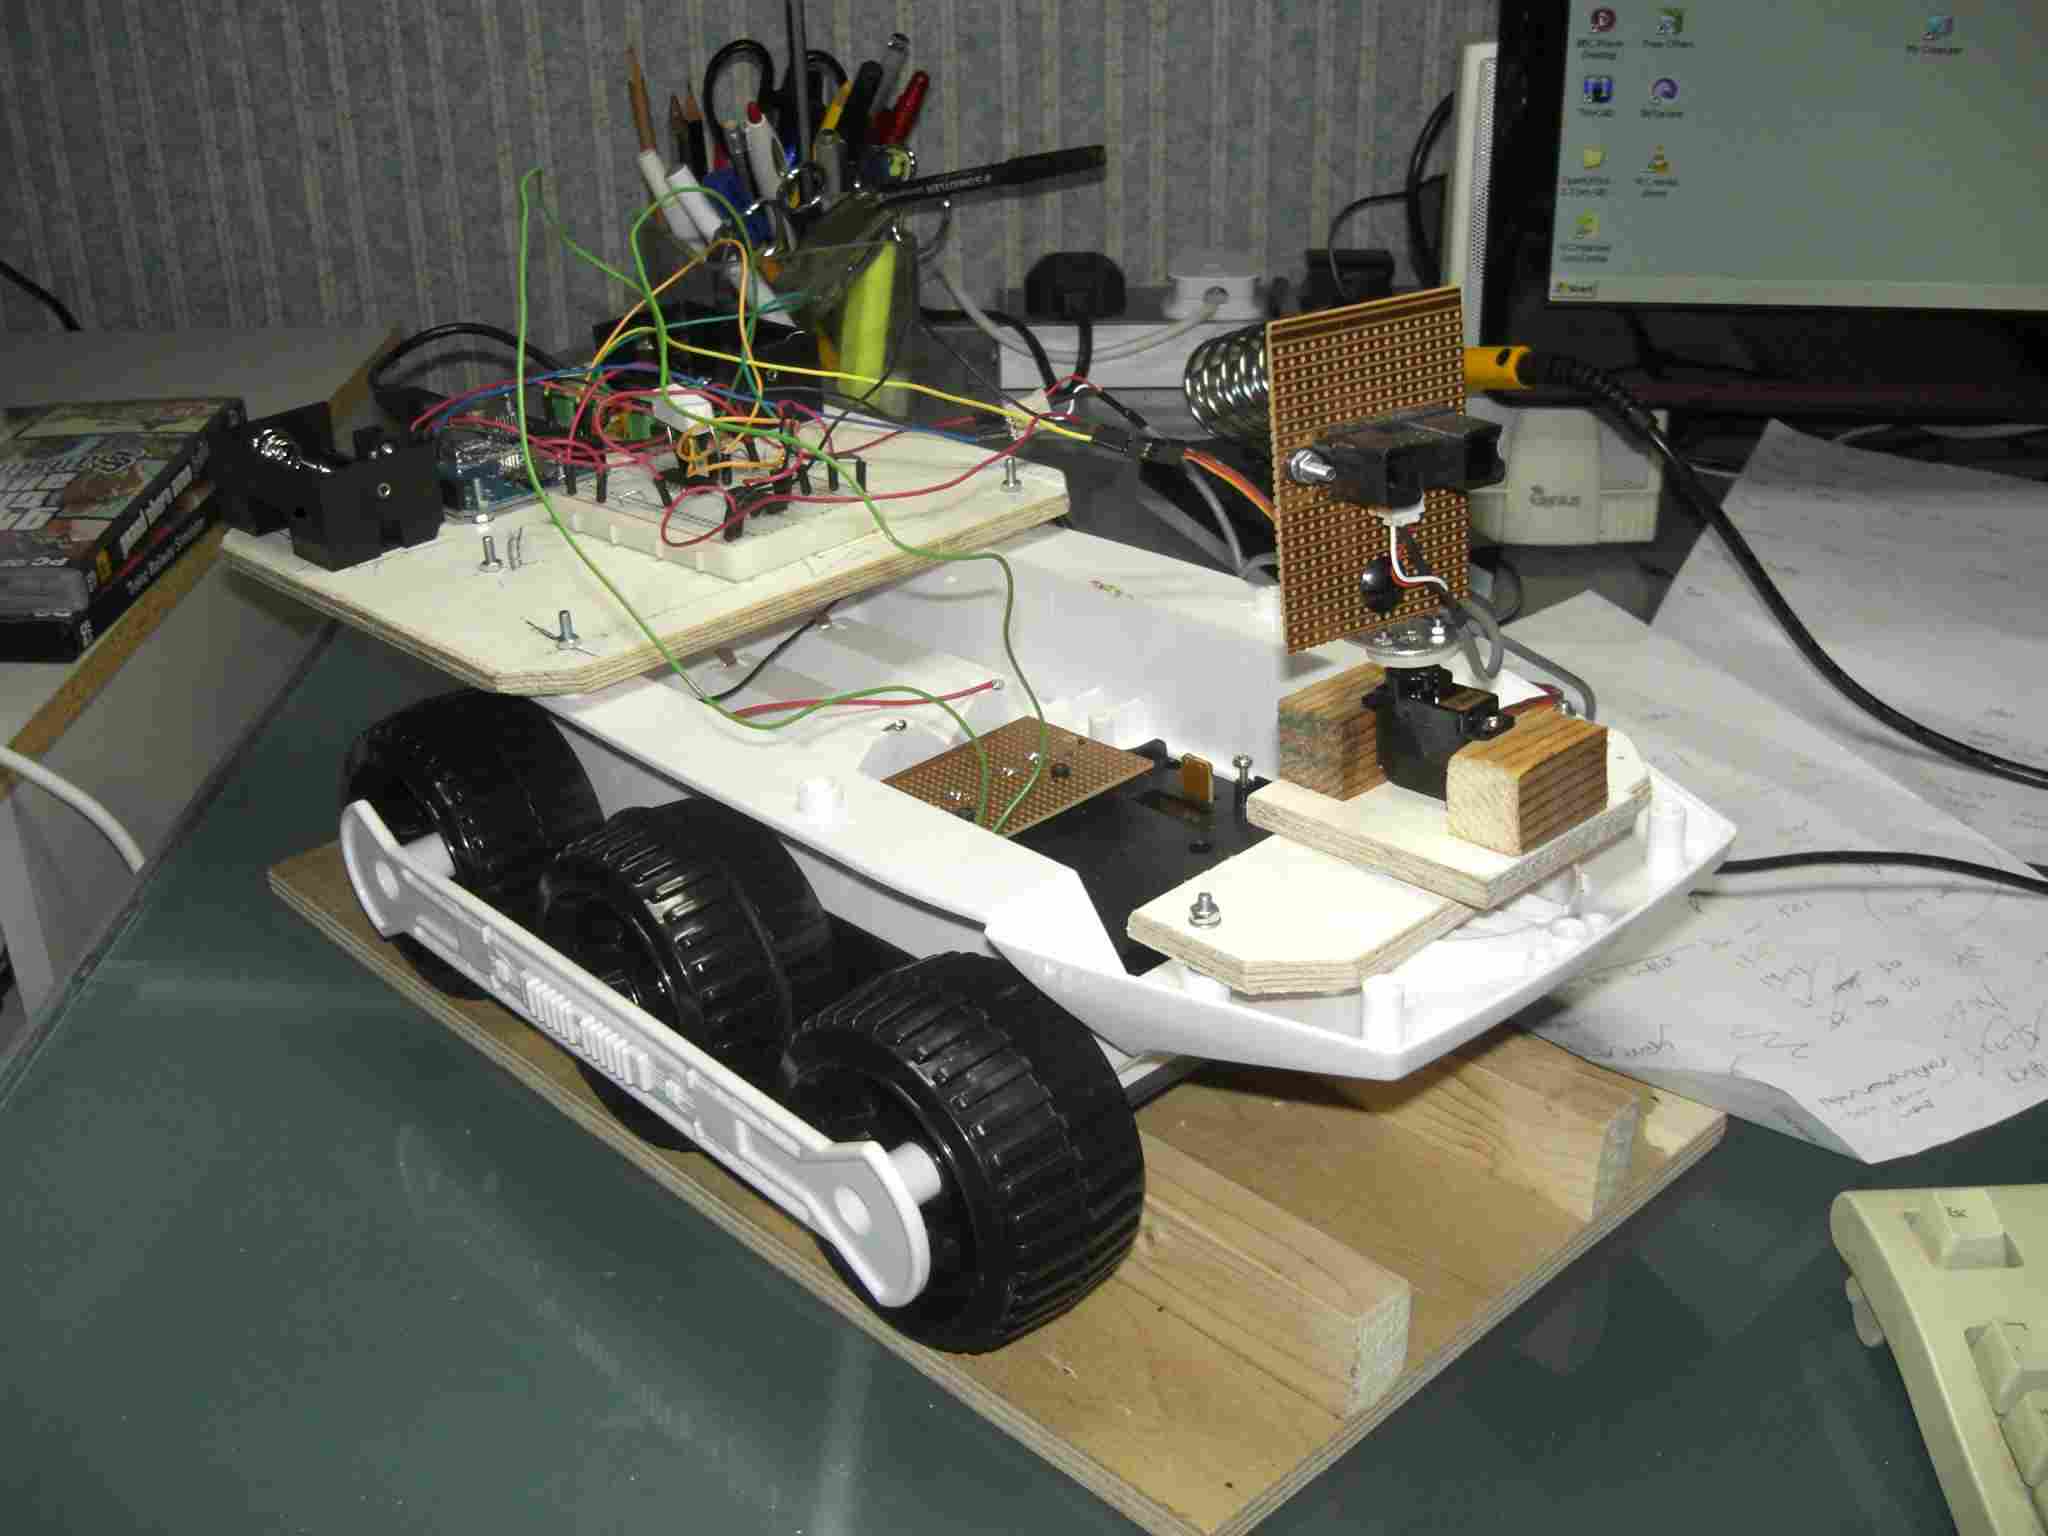
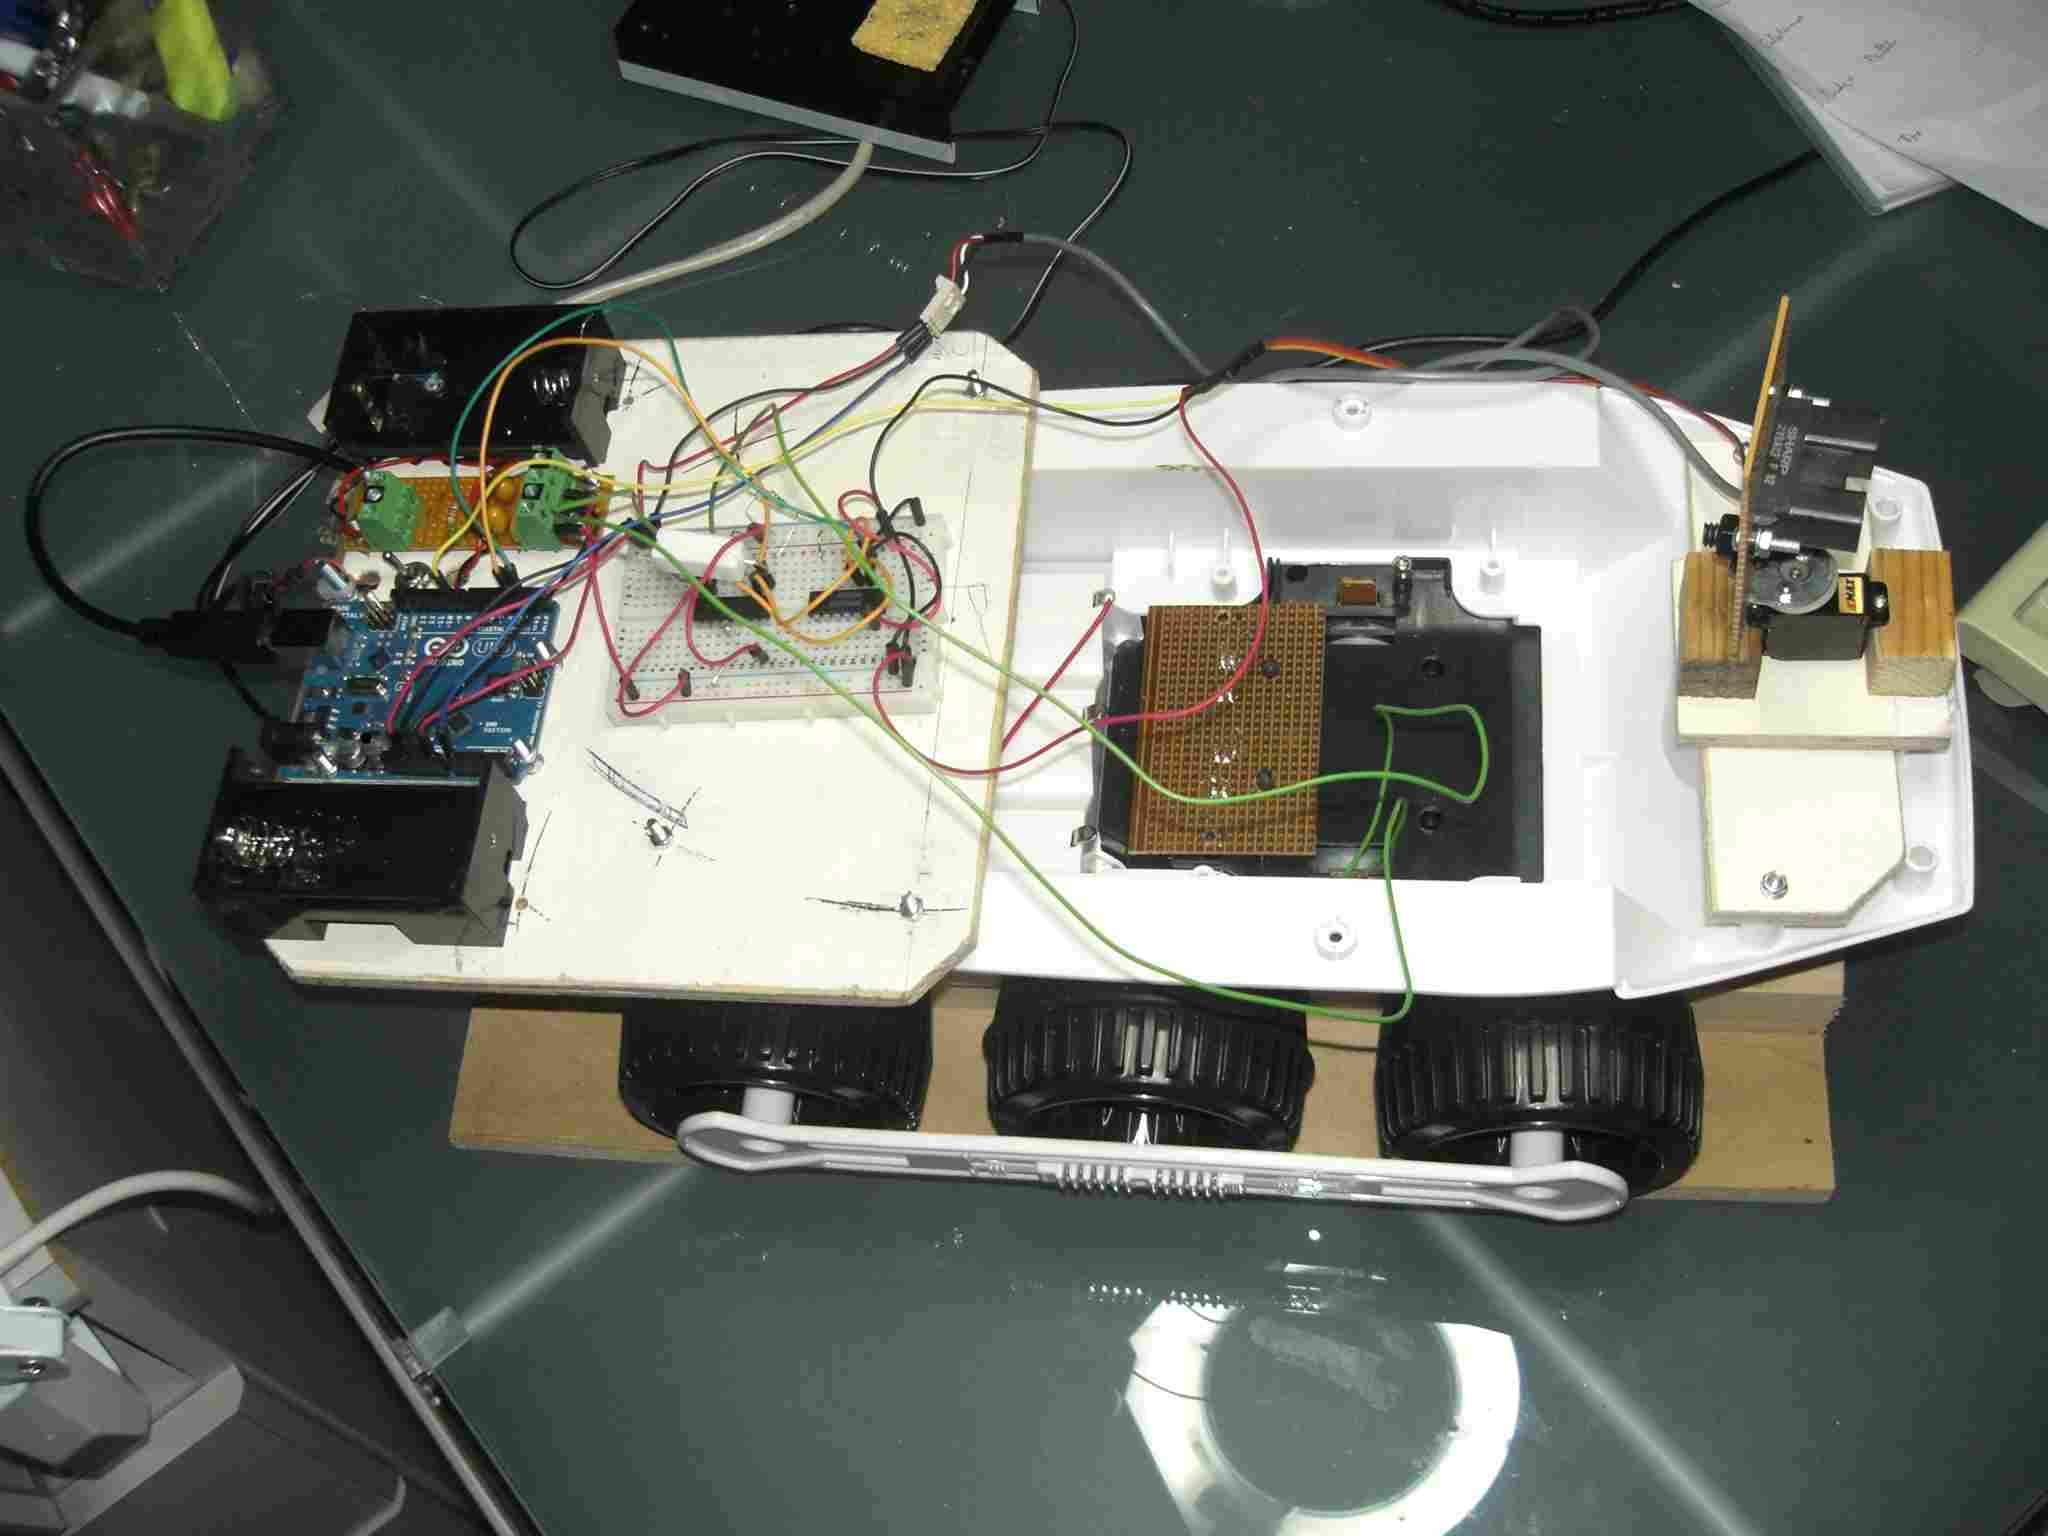
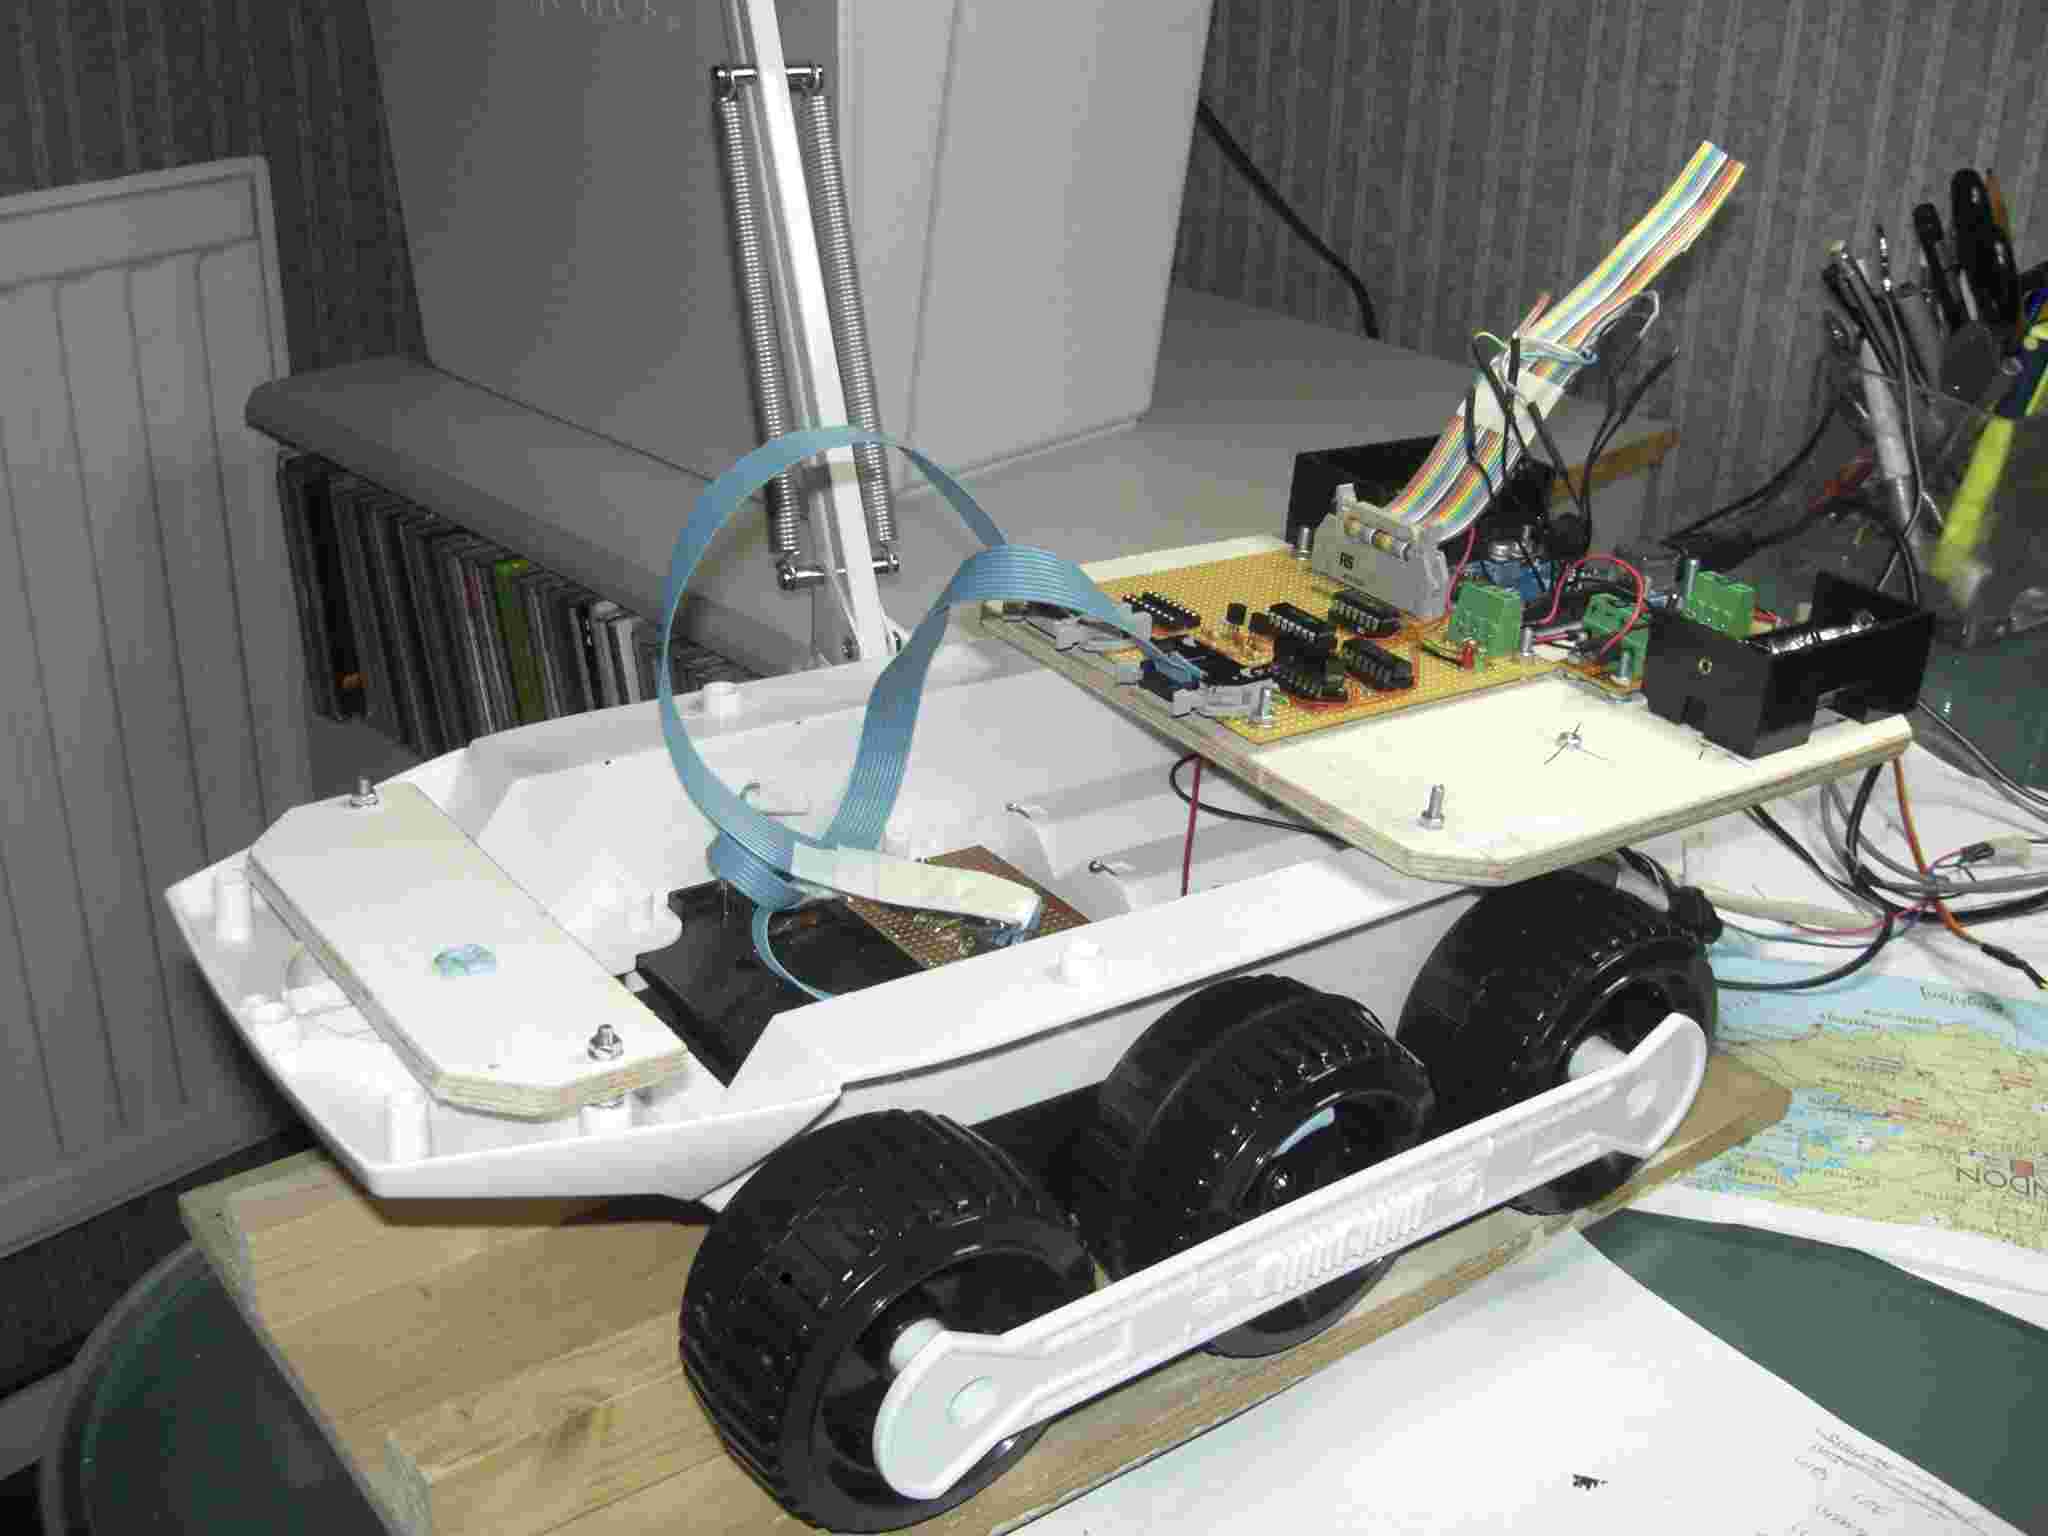
Robot – The chassis and hardware. This is a test bed. So the aim is took keep everything plug and play. Lots of connectors, plenty of space and power on a mid-sized chassis. Less reliability and robustness.
How I plan this this project to progress.

Circuit diagrams developed under TinyCad.
Things to add to this page.
A 'learnings' page describing what has been discovered.
A description of the over the wire(less) protocol.
Copies of all the source code.
Resources … where to obtain stuff.
Alternate approaches – Other ways of doing things … and why I didn't do it that way
A feedback form.
Mechanicals
Power. It is becoming obvious that 'power management' is a critical part of robot design. Use it efficiently and keep it clean where it needs to be.
Sensors.
Data sheets for the hardware.
Photos/videos page.
What next..